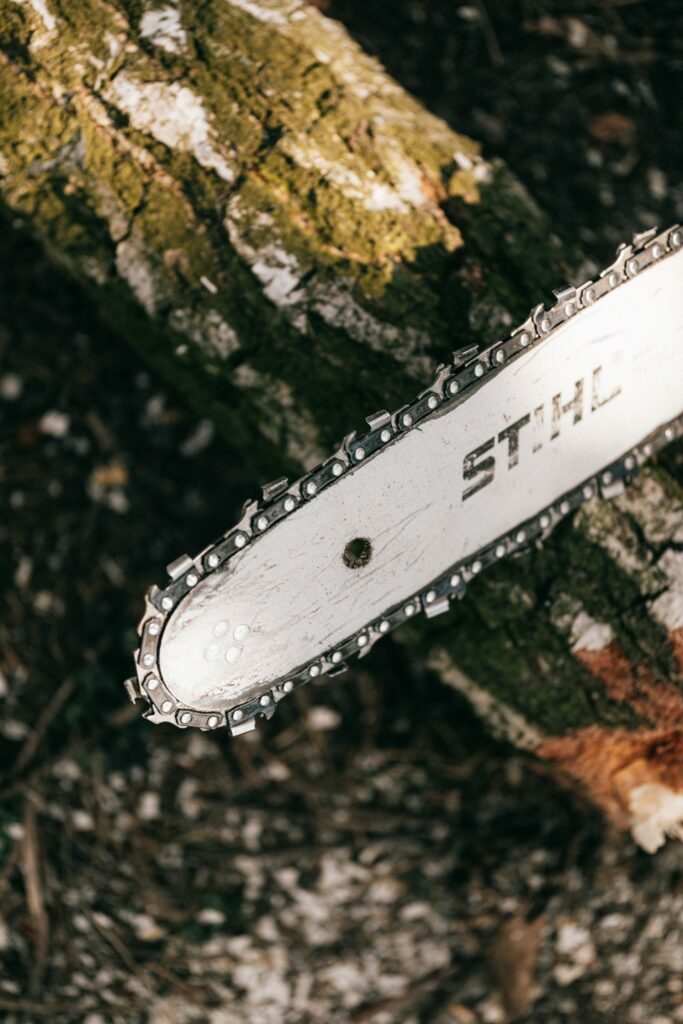
The chain is the most prominent part of a chainsaw and proper maintenance of the chain improves the overall efficiency. For this purpose, professional loggers replace the chains of a chainsaw quite often.
Furthermore, replacing the chainsaw’s chain in the right manner saves a lot of time and money as well. In addition, replacing the chain of chainsaws mitigates the chances of injuries while operating the chainsaw. Because using an unfit, old, or rusted chain causes unwanted heating of the engine and fatal kickbacks.
Henceforth, in this article, I will provide an out-and-out guide on how to replace a chainsaw chain. For this purpose, I will discuss all the aspects of different chainsaws and provide a step-by-step guide to replace the chain.
Table of Contents
Before Replacing A Chainsaw’s Chain
Firstly, before going to the steps we should have the right chain for the replacement. Only after that, we can focus on the steps on how to replace a chainsaw chain. For getting the right chain for your chainsaw, you must know about the pitch, gauge, and the number of links, before going to the hardware store.
Suggested Read: How to Find Chainsaw Chain Size
In addition to, having the right measurement of the chain you must also have some basic tools. These basic tools are a Flathead screwdriver and a Socket Wrench. After this just make sure you have a platform for keeping the chainsaw and a box for keeping the screws. After getting this and the prescribed tools and the correct replacement chain you are ready to replace the chain of your chainsaw.
Steps On How To Replace A Chainsaw Chain
Changing the chainsaw’s chain is no rocket science, in contemporary to this it is very simple. Furthermore, to make it a piece of cake I have divided the sequence of replacing the chain into simple steps. The steps are so simple that even newbies in chainsaws can easily follow them to replace their chainsaw’s chain.
1. Disengage The Chain Brake Of The Chainsaw
In some chainsaws, the chain brake is attached to the side plate. If we do not disengage it and simply detach the chain from the chainsaw, the reinstallation process of the chainsaw will be difficult because of the chain brake. Hence, it is my recommendation to make sure that the chain brake of the chainsaw is disengaged.
2. Detaching The Side Plate Of The Chainsaw
To remove the chainsaw we need to remove the side plate to access the chain. Generally, the side plate is being held by two nuts, just detach them with the help of a wrench. Then, keep the detached nuts in a box where you can access them when reinstalling chains.
3. Release The Chainsaw’s Tension
To release the chainsaw tension simply pull the outermost tip of the guide bar (nose) away from the chainsaw. Subsequently, the chain will get loosen.
4. Detaching The Chainsaw’s Chain
After the chain gets loosen carefully remove the chain from the chainsaw. I will recommend, wearing a glove while doing this if the chain is too rusty or sharp.
5. Adjust The Tensioning Screw
You will find a Tensioning Screw near the base of the guide bar of the chainsaw. To make the re-installation process easy, simply loosen it with the help of a flat head screwdriver.
6. Re-Installing The Chain In The Chainsaw
For re-installation firstly, thread the chain with the back drum. Secondly, make sure that the drive links are engaged with the sprocket by spinning the sprocket. Lastly, check whether the chain is spinning along with the sprocket or no, if no then re-thread the chain with the clutch drum and recheck.
7. Push The Guide Bar To Its Original Position
After successfully installing the chain around the guide bar, we need to align back the guide bar. As we have earlier released the tension of the guide bar in step two now we need to push the guide bar back to that position. After, pushing it back make sure to seat it back to the chainsaw’s adjustment pin.
8. Re-Attach The Side Plate Of The Chainsaw
Put the side plate back to its original position after installing the chain. Then, put the nuts back on and screw the nuts in with your hands. But, make sure not to screw them back tightly, as prior to this we need to tension the chain.
9. Re-Adjust The Tension Of The Chain
We need to adjust back the tensioning Screw near the base of the guide bar of the chainsaw. For this step, simply screw it back to its original position and check whether it’s holding the chain firmly or no.
10. Tighten the Side Plate Nuts
Finally, tighten the side plates nuts with a wrench. For this, you need to simply pull the guide bar upwards by holding the nose. After this, tighten the nuts with the wrench while holding the bar upwards. Then, simply release the nose and you will notice that the bar did not fell back. Hence, verifying the nuts are tightened but if the bar still fell down you need to tighten it more firmly.
Final Words
Replacing the chain of a chainsaw is onerous if you do not have the right knowledge. Furthermore, the lack of knowledge may also cause injury by faulty handling of the chainsaw. Hence, I have formulated this article so that our readers do not face such hassles.
I am a professional logger and I change the chains of my chainsaw in the same manner as provided above. I have made sure not to omit any detail or information while narrating the steps. Hence, I hope that this out-to-out guide will help you to change the chain smoothly.
If you have any doubts, queries, or questions regarding the steps from this article or any other articles by Best For Customers. Just shoot them in the comment section, I am very excited to hear from you and solve your doubts.
Resources
Here at Best For Consumer, I have tried my best to provide complete and correct information. For this reason, I follow a stern guideline for sourcing the information. Moreover, I refrain from displaying the facts and data that is garnered from un-authentic sources. Because they might have some distorted information that may not be good for our readers.
- Chainsaw Wikipedia https://en.wikipedia.org/wiki/Chainsaw
- Working Safely with Chainsaws https://www.osha.gov/sites/default/files/publications/chainsaws.pdf
- Chainsaw Chain Wikipedia https://en.wikipedia.org/wiki/Saw_chain
- How to Replace a Chainsaw Chain https://www.youtube.com/watch?v=nSU_ary56dA&t=18s
- Kickback risk of portable chainsaws while cutting wood of different properties: laboratory tests and deductions https://www.ncbi.nlm.nih.gov/pmc/articles/PMC4706016/