First thing first, you can’t compare TV viewing experience with Projector viewing experience. Depending on where the display is to be set up is an important criterion to choose from, either a TV or Projector.
Using a projector as TV is a wise option if you have a vast space. Economically, projectors are relatively very affordable when compared to those big inches size high-end TV.
So, if you have your mindset and ready to go for a projector as a daily tv, you are at the right place. Follow the below steps to perfect set up your projector.
Table of Contents
Here are the Steps to Setup Projector as a TV
1. Locate the Best Place for Projector and its Projection
The display and the quality of the display are highly dependent on the location. So, for the projection space and size of projection is an important aspect. An adequate screen or blank part of the wall is sufficient.
A chosen surface must be as close to white as possible and should probably be significant. Projectors can project huge images with decent details, although not to mention that the visuals get dimmer as they become more extensive.
Also, to project large visuals, there needs to be an increment in distance between the wall and the projector. And again, if the projector room is a busy one, you won’t like the projector’s beam to be blocked frequently.
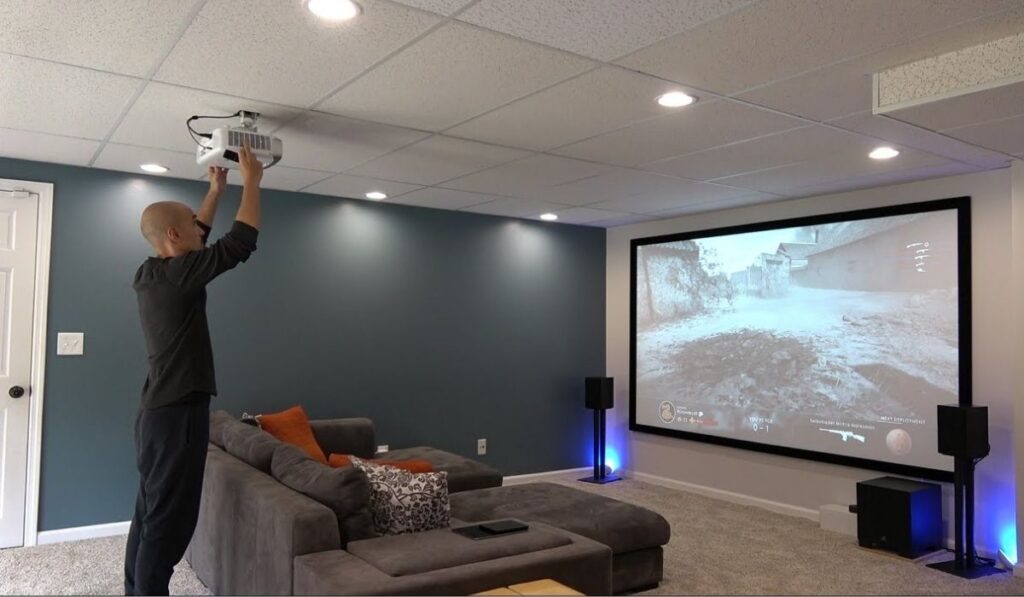
In order to avoid this, you need to mount your projector on the ceiling. And this means that you have to consider the seating arrangement in the waiting room.
See Also: iRobot Roomba 960 Review
2. Setting Up the Screen
The screen setup is crucial if you intend to project visuals on the screen rather than a plain wall. Projecting on a plain white wall is also acceptable but, purchasing a screen would be a wise option.
Screen projection displays comparatively better images and produces much better details than a plain white wall.
3. Mounting Height of Projector
A projector can be placed either on an adequately heightened table or can be mounted on the ceiling. Though for a TV-like use fixing a projector on a table is the most common approach.
Most of the projectors have a distinct design, wherein the lens’s centre is calibrated with the bottom edge of the screen on which it will be projected.
So to locate the best height for the projector, you need to heighten the table keeping the bottom edge in mind. Furthermore, if a different range is required, try to find a projector equipped with both vertical and horizontal lens shifts.
4. Connecting the Projector
For connecting the projector, proper cables are required. Different sorts of cables for different projector models, e.g., HDMI cable, composite cable, RCA cable, HDMI to RCA cable, etc., are used to connect an RCA projector.
So conclusively, the cable type will be based on the type of ports available and the type of connection. Connect the projector with a video in jack and the television with a video out jack using an appropriate cable.
If both your projector and the TV are supplied with HDMI ports, prioritize the HDMI cable, make the connection, and so forth. However, modern projectors are equipped with all the fundamental connection cables and attachments required.
5. Getting Visuals from TV to Projector
After connecting the cables, turn on the TV, then right dive into the settings menu through the controlling device of the television. Select a setting that frames Enable Video Out or something similar to Auxiliary Video Out. Toggle the setting towards “On” and permit the output of TV to be displayed via projector.
Moving forward, Switch on the projector and open the setting panel by pressing the menu button on the projector or do the same from the projector’s remote if you have one—select jack as the input origin, which is connected to the TV.
If everything goes right, visuals that are at present displayed on the TV must show up on the projection screen.
6. Orientation of the Display
For a better viewing experience, the projection beam must be aligned perfectly on the projector screen. To guide you with the alignment, most of the projectors have a built-in guide pattern.
These guide patterns are usually grid dots or lines. However, if your projector doesn’t have the grid pattern, you can get it online for free or use any still image for reference.
7. Orienting the Projector
Aligning a picture requires a couple of minor setups.
- The center or axis of the projector lens and the projection screen’s center should be aligned appropriately, i.e. both the centers must be in the same line.
- As far as possible, try to avoid both vertical and horizontal tilt. The ideology of good projection is the projector, and projection should be level and perpendicular to the screen.
8. Display Size and Aspect Ratio

A proper aspect ratio defines a perfect projection display. Ascertain the projection’s edges to ensure they are equivalent in size and the correct aspect ratio is maintained.
The visuals should cover the entire projection screen. To adjust the size of the picture correctly, use the edge control functions like zoom and tilt on the projector unit.
Note: All projectors are not equipped with zoom, tilt, and edge control.
9. Fine-Tuning Image with the Focus Wheel
A proper crisp detailed image can’t be obtained unless if it’s adequately focussed. By rotating the focus dial near the projector lens, adjust the projector’s focus until the satisfied sharp image is displayed on the screen.
Move closer to the projection screen and check at the sharpness of the image along every edge. If you find that the image is partially focussed, it indicates that the adjusted projector and the screen are not genuinely perpendicular to each other.
10. Fine-Tunning the Projector
Generally, projectors are engineered with foot screws or adjustable legs. For further fine-tuning and making the projector beam perfectly perpendicular to the projection screen, use foot screws and adjust the projector’s orientation.
See Also: Top 10 Best Projectors Under $500 in 2021
11. Enhancing Picture Quality
Like televisions, projectors also have pre-set picture modes to enhance the visual scenario. For the best viewing experience in a darkened environment, switch to the theatre mode. Likewise, scroll through all pre-set modes and select the best according to the environment.
12. Setting Up the Sound
A bitter truth or limitation with projectors is that they don’t come with powerful speakers. For a big screen and big space projector’s inbuilt speakers won’t carry out the job. You need to invest in powerful speakers to enhance the audio quality.
In case if your projector doesn’t support Bluetooth connectivity, try looking for auxiliary cabled speakers. After completing all the above steps, you are all ready to enjoy the big screen.
We hope this article about how to use a projector as a TV is helpful to you. Do share this article on social media if you found it useful for you in any manner. Please stay connected with us for future updates.
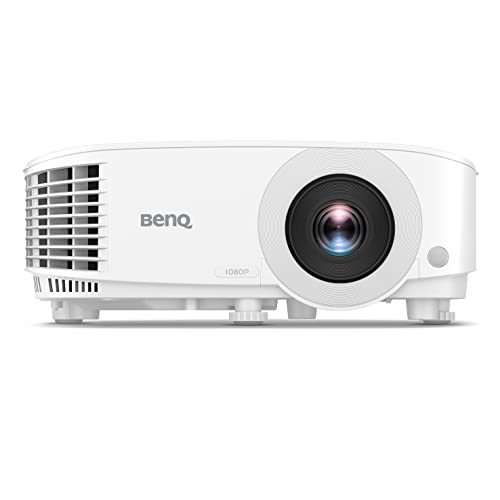
Best Rated Projectors
These are the top rated projectors, have a look.

![Replacement MODBO5.0 V1.93 Chip For , Machine Mod Direct reading Chip Microcircuit for 2 Console [video game]](https://m.media-amazon.com/images/I/413s0O8SkuL.jpg)